
When I Made my Wedding Dress
Next week is my husband’s and my first wedding party anniversary. On this occasion, I want to share with you how I made my own wedding dress without having ever even made a dress before. After all, I was only a quilter until 2019!
The Pre-Condition: Getting Married
It all started by getting married to an officiant in a Starbucks coffee shop in Washington, D.C.! Very unspectacular and without a party or family gathering. So the dress we are talking about was the one for the actual wedding party. This party happened more than a year after our special coffee date with an officiant in a D.C. coffee shop.
We knew we wanted to have a party for the families to come together. And I knew that I did not want to wear anything white or a dress that I would never have the chance to wear again. Don’t get me wrong, I think wedding dresses are beautiful. But I am not the type of woman that “says yes to the dress” on TV. I wanted something stylish and elegant, but not too “bride-like” as well. And something that would not be the most expensive item on my wedding party budget. 😉
And I knew that I would not be able to find this…
The Theory: Sketching My Dream Wedding Dress
So I set out to make my wedding dress! Or in the beginning: to attempt making my wedding dress as I had no idea how it would turn out. My last-minute option would be to buy an evening dress and just go with it! No issue at all!
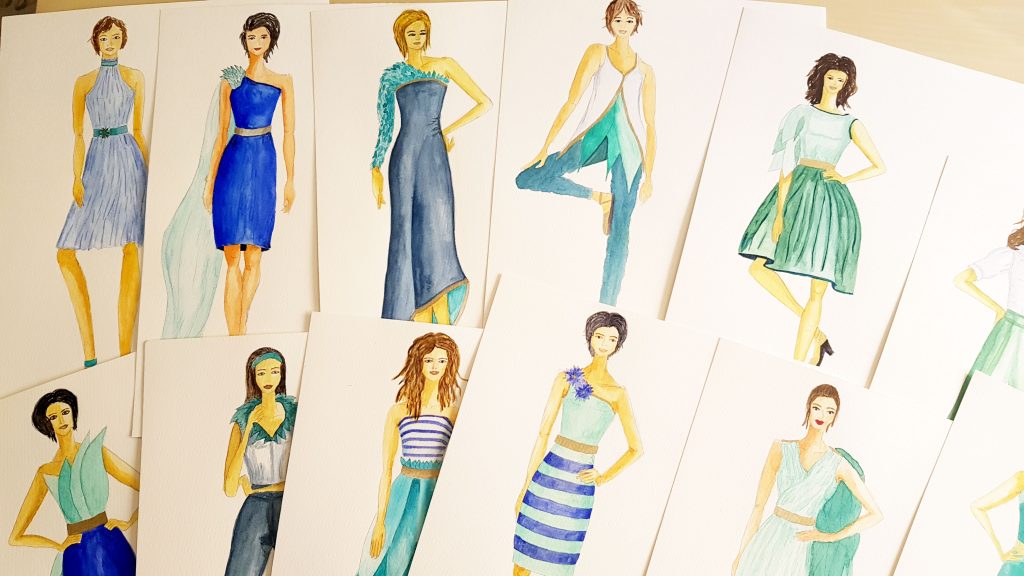
I started by doing a fashion illustration course with Yang Soon Ju “Elizabeth” that was part of the community course program of the Virginia Commonwealth University here in Doha, Qatar. The course was great, but my creations were not really what I would wear either.
But the color scheme for the wedding originated from this course. My collection was mint and blue. A color scheme that fits us as a couple perfectly – my husband loves navy, and I love everything mint and turquoise!
From Theory to Practice: Sewing Many Dresses
Then I got Tanya Whelan‘s book “Sew Many Dresses, Sew Little Time”. The book was a game-changer, and I cannot thank Tanya Whelan enough for writing it. Her system of combining different bodices with different options for skirts was eye-opening for me. There are 219 different combinations of tops and skirts, with or without sleeves or collars!

So the “sew many dresses” part definitely appealed to me, But the “sew little time” part is a slight understatement. 🙂
I did not sew all 219 options (yet). But I made EIGHT dresses before attempting my actual wedding dress.
Not 27, but 8+1 Dresses!
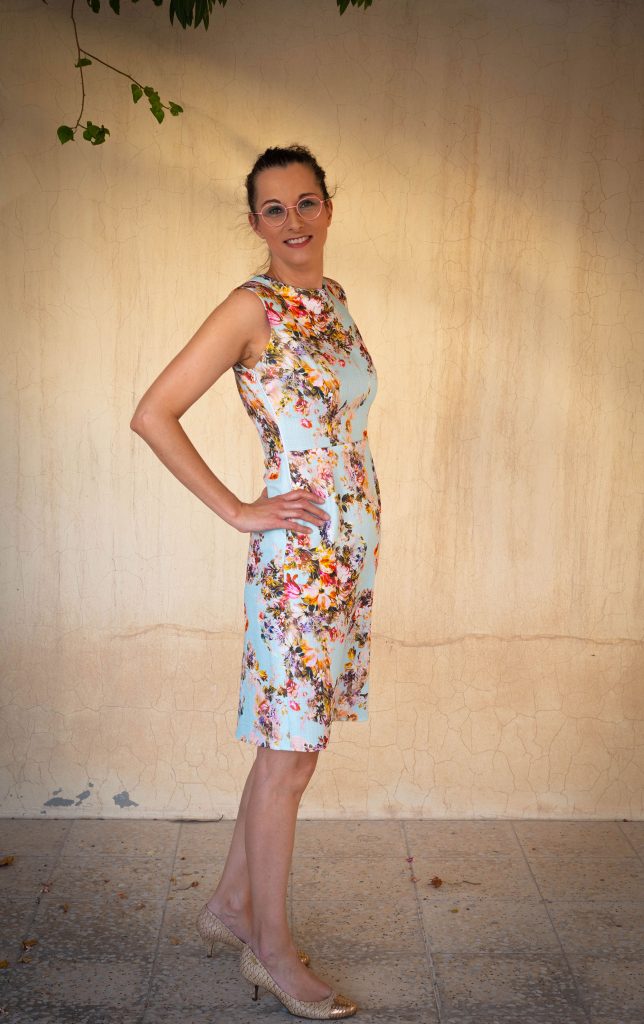
When I started brainstorming for this blog post, I convinced my husband-photographer to make a photoshoot with my dresses for it. We had a lot of fun (and I bet the neighbors might have had fun, too). I had actually planned to introduce you to all 8+1 dresses with this blog post. But looking at the photos of my eight pre-wedding dress dresses now, I think it would be worth introducing them dress by dress in separate posts to you, my dear readers!
So I give you only a brief introduction here to my approach to the project. I started off with the easiest combination – a basic bodice and a straight skirt which is my dress No. 1. From there I changed one or two things with each new dress I made. Finally, I had my dream combination for my wedding dress: a princess bodice in the off-the-shoulder variation in combination with a box-pleated skirt.


For more information on each dress, where I got the fabric, what I changed compared to the last version, and what I learned sewing it, you will have to wait for my dress-related posts in the coming weeks and months. The blog posts will be titled my dress parade. So, look out for them if you are interested in my journey to sew my own wedding dress.
But let me know if you have a favorite dress already from looking at this gallery!


2 Comments
Monique Thijsens
Dear Maya I am really impressed by your adventure into making your own wedding dress!! How original!!!! Dress nr 3 is my absolute favorite!!!😍
Maya
Thanks a lot, Monique! I will write about dress 3 soon. It is made from sari fabric I got in Dubai a few years ago. 😉